Saturday, October 29, 2011

2 way Spicy sweet & sour fried anchovies/ikan bilis.

Spicy sweet & sour fried anchovies with strawberries.


Original spicy sweet & sour fried ikan bilis.


This is one of the all time favourite at home. It may look simple but its really not easy to fry the dried anchovies/ikan bilis till nicely done and crispy. 


Ingredients for Original Spicy Sweet & Sour Ikan Bilis :

1 or 2 bowl of dried ikan bilis/anchovies(silver fish) - wash and pat dry with kitchen towel
2 medium red onion - halves and slice
3 chilli padi/1 red chilli (depend on preference) - slice into small circles
2 to 3big tbsp of white sugar
2 limau kasturi/ half a lime - squeeze the juice and discard the seeds


Firstly, for ikan bilis, halves it and take out the bone and organ(the black thingy). Then wash and pat dry with kitchen towel. For dried anchovies(silver fish) just wash and pat dry. Heat up some oil under medium heat  and add in the ikan bilis. There will be a stage whereby you will notice bubble starts to form. Don't worry, continue to stir until the bubbles disappear and make sure to turn off the fire immediately. Prepare a wide plate and place some kitchen towels on it and place the fried ikan bilis on it to suck away the excess oil. Set aside.

In the same wok, stir-fry the onion and chillies till frangrance and add in the fried ikan bilis. TURN OFF the flames and add in the sugars. Toss and mix well. Lastly add in the lime/lemon juice.

(The ingredients and method are the same for the strawberry version. Simply add in the strawberries before adding in the sugar. Followed the lime juice.)

I decided to cook the strawberry version today because the red delicious looking strawberrries are on sales  in the supermarket. I am too greedy and bought 3 boxes which turned out to be really sour ones. This is a refreshing dish. Trust me! Give it try!
Enjoy!


Monday, October 3, 2011

Happy Mooncake

I am very busy recently that only now, can I finally manage to squeeze some times to update the recipe for the cute piglet mooncakes that I had posted previously and I will name it the Happy Mooncake coz I am really happy and having fun when I am moulding and playing with the dough.


Recipes for the mooncake dough (Derived and modified from Famous Cuisine Magazine no.51 Jul/Aug 2008) :

300g low protein/plain flour
250g golden syrup (I used Lyle's Golden Syrup)
1 1/2 tsp alkaline water
25g peanut oil

Topping : (beaten)
1 whole egg + 1 egg yolk.

Method :

1. Mix golden syrup with peanut oil and alkaline water, gradually add in plain flour, mix until well combines and soft.

2. Wrap the soft dough with cellophane paper, rest it for 1 day or overnight. (I just put mine in the mixing bowl and cover with cellophane paper.

I used store bought low sugar white lotus paste and low sugar peppermint chocolate almond paste from KCT. Choose the filling according to preference. Prepare the dough and paste according to 1:4 ratio. Which means 20% dough and 80% filling. Prepare according to the size of the moon cake that you prefers to make.

Measure and prepare the dough and paste and shape into balls.

Dust some flour on the worktop and flatten the dough balls and wraps the paste balls nice and evenly. After that, shape it into any animal charactors that you like.

Enjoy and have fun!


Sunday, September 4, 2011

Mini Dancing Piglet Mooncakes and many more.

Three mini dancing piglets. Its wearing cute tutu and are simply adorable, don't u agreed?
 
The backside view of the three mini dancing piglet. (lolz...)


These mini piglets are sooooo adorable. I really hope I can preserve and keep them forever.

Saturday, September 3, 2011

Hand Moulding Piglets Mooncakes


It has been a long time since I last updated my blog. I am so glad to be able to present to everybody my cute little piglets after so long. However, I am all too tired to continue tonight as its almost 3am, way past my sleeping time. Been moulding, decorating and baking the mooncakes for the whole day today. I will just share with everybody some pictures here.

To be Continued...lolz...
Moulded, shaped and getting ready to decorate every little piglets.


9 little beauty piglets tagging behind Mr Casanova piglet(did I forget to mention that it is made by my eldest boy? His piglet has got toes whereas mine don't).


This is the 2nd batch and notice that they are rounder and cuter than the earlier one. Miss piglets! Get ready, smile and cheeze! (for my hp camera..lolz)

This is taken right after baking. Noticed that its lighter brown? Well, usually the colour will get darker and the piglets will have a nice sheen after that. Its recommended that the mooncake be consumed only after the 3rd day whereby the process of oiling will give the cake a nicer sheen and softer texture.

Love them so much. Simply adorable.


Look at this expression!


I am moulding and smiling from within my heart because these piglets are simply adorable. Hope they brighten up your day like they did mine!!! Cheers!!!

Thursday, May 19, 2011

Great Miso Soup Ideas.

I find that I can simply just play around by changing different ingredients everytime and add a few tbsp of miso into the soup and the kids will never get bored with having the soup quite often. It all depends on what are the other dish that I am preparing for that meal. If I cook other dishes of seafood and meat, then  I will prepare what I have for dinner tonight as shown in the first picture below. If I have other vegetables dishes but not meat or fish, then I will prepare miso with some fishball or chicken fillet strips and so on. Just be creative and try new mehods.

The picture below is just miso with 1 box of soft silken toufu cubes, fresh chinese yam (huai shan) cubes, carrots also cut into cubes and dried seaweeds. For method of cooking, just refer to the fishball link above. Its the same. Just different ingredients used.


The other day, I prepare miso with ready ingredients available in my fridge on a lazy day. Its just some minced meat (marinate with light soy sauce, sesame oil and corn flour), 1 big carrot, 2 small potatoes, 1 corn on the cob (cut the flesh), a beaten egg and a stalk of shanghai green (cut thinly and add in lastly). My little one love it, so do the elder brother and sister because they love corn. This way, they get to eat their favourite corns easily together with the soup and don't get the flesh stuck to their teeth and without getting their hands dirty. The corns also adds some natural sweetness to the soup and it smells really nice!


Its just my way of experimenting with food. Just a way to make sure my kids have a balance diet of meat and vegetables.

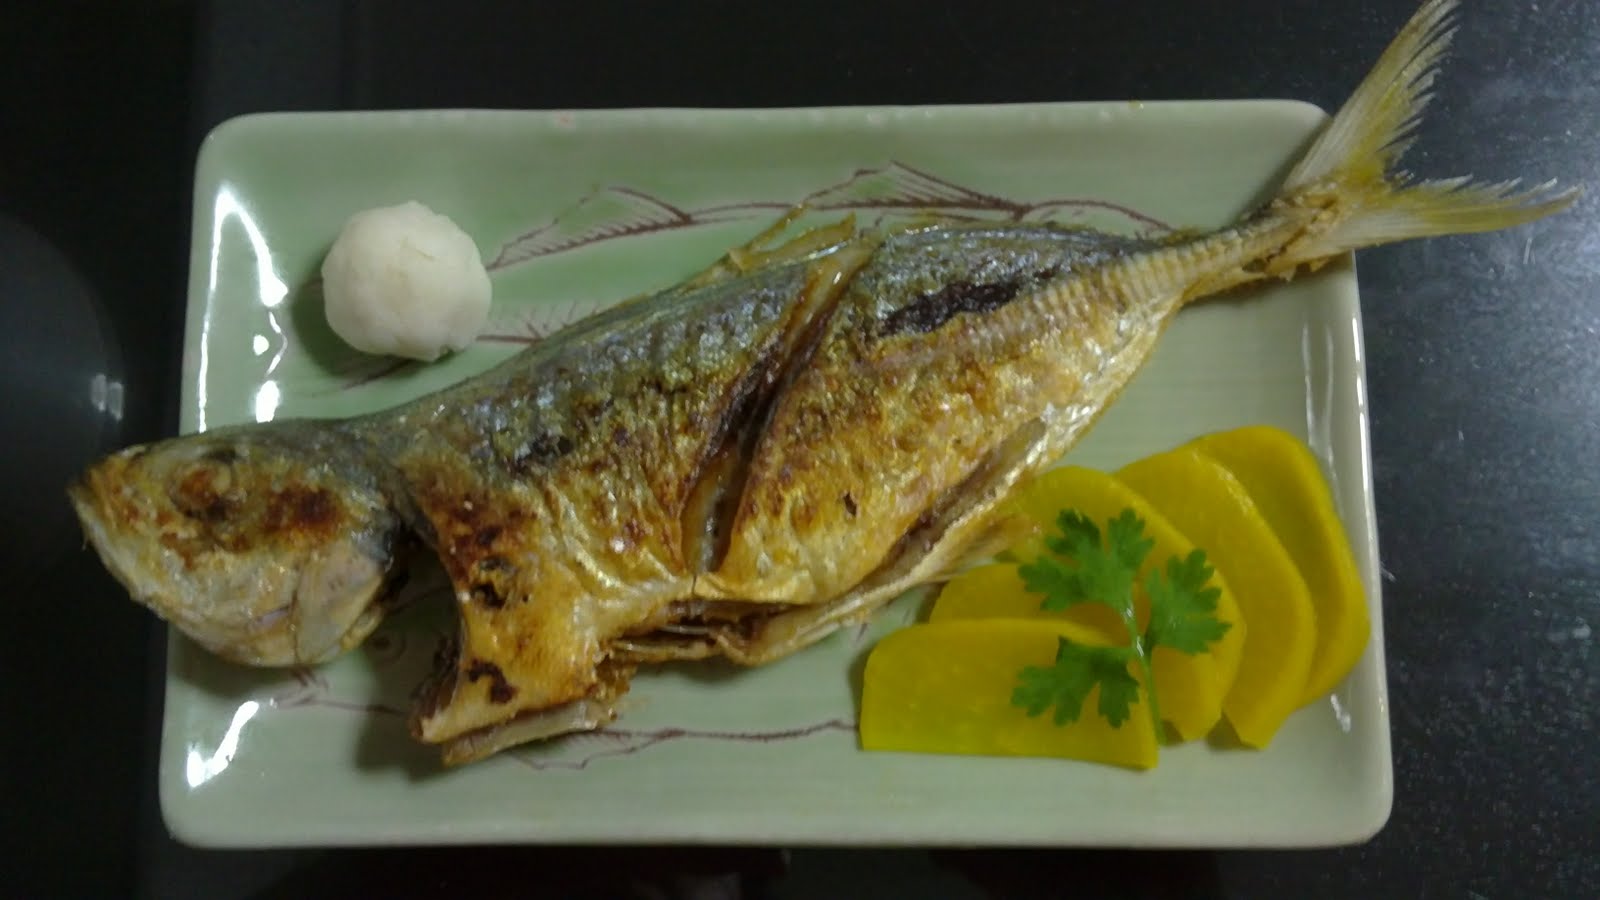
Pan-fried Mackerel(Ikan Selar) With Grated White Radish (Fresh Daikon)


Another simple to prepare dish.

The ingredients are:
2 fresh medium size Mackerel (Ikan Selar)
Salt
Corn flour
Fresh white radish
Slices of fresh lemon
Some light soy sauce

Cut, deskinned and grated about 10cm of fresh white radish. Place the grated radish in a fine sieve and put it briefly under running water. Then drain away the bitter juice. Shape it into a small ball and set aside.

Cleaned and pat dry the fresh mackerel with some kitchen towel. Marinate with some salt and set aside for an hour and wipe off with kitchen towel and lightly coat with some corn flour. Pat off excess flour. 

In a clean wok/pan, heat up some oil and make sure the surface of the wok/pan are coated with the oil. Fry in medium flames. Refrain from turning the fish too early to avoid tearing the skin. Just add more oil if the wok/pan gets too dry. Turn to the other side and fry til brown and crispy. This method is good and uses less oil. Just make sure the fish is dry to avoid the oil from spattering all over the stove area. Once done, squeeze some lemon juice over the fish before serving. Decorate the dish with the grated radish ball and a few slices of pickled daikon.

Add  the grated radish with some soy sauce for dipping.

Prepared some miso soup and sambal sotong too for dinner tonight.  

Enjoy!